Welcome back to another Tutorial Tuesday! Today is Part One of a two-parter in which I'll share what's on my palette for this specific piece,'Anjel', and what oil paints I used to create her skin tone. Next Tutorial Tuesday I will have a demo video for you discussing and showing how I paint the first pass with this palette.
A still shot from my upcoming demo tutorial next week
First pass on the skin complete.
I really enjoy mixing these rich and sumptuous colors! Take a look at my palette, but feel free to experiment on your own too.
This is how I would set up my palette for this particular skin tone, as well as the background pinkish-orange hue (with the arrows showing my mix). My palette is usually pretty similar for all skin tones with slight variations, such as using chromium oxide green or grey violet instead of the sap or kings, but for the most part we humans are all made up of the same ingredients:) I'll continue to share more demos in the future (make sure you don't miss any!).
>>Pro Tip: Use a the main color from the background within the skin tones and/or foreground image to help the painting achieve unity. Even if it is mixed mostly in and not dominant in the foreground, somehow our brains connect the two and it will form a stronger bond between your subject and their atmosphere.
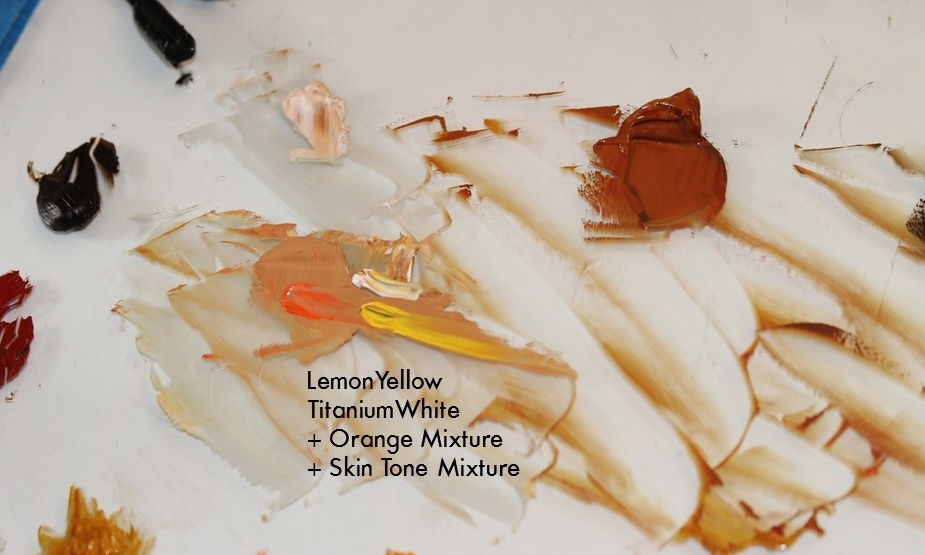
The way I mix colors for any major part of the subject (ie. skin, hair, possibly clothing) is to slowly add little bits of paint together in a smallish batch until I get the color I want, and then replicate my process in a larger batch that looks like it would be plenty to go over all of that specific area at least 2 times.
In this image above you can see the warm ochre brown color already mixed to my liking, and then I have added more paint on top to mix in and triple my quantity. It is important to mix plenty because trying to match a color later on, especially if the first coat is dry already, is sooooo impossibly hard. I find it much easier to mix all that I need right off the bat, and just try to complete that layer in under a week. Your paint will dry on the outside and you will lose some, so again, make sure to mix enough that you can scrape off the dry parts too.
Next I start sectioning off my main skin tone color into 4 or 5 piles and begin mixing to form a sliding scale of hue from light to dark, leaving one pile unmixed for the 'middle ground' tone. The colors I add for my highlight areas are above, and the colors for my lowlights are below.
Pro Tip: Mix in teeny tiny little bits of other colors slowly and thoroughly as you are trying to get the tones you want because certain pigments will really saturate and take over mixes rather quickly and surprisingly.
And that's about it! It doesn't seem like much, and it's not hard, but mixing realistic skin tones takes time, and so much practice. I have been been painting people for over ten years now and it still can take upwards of 30 minutes for me to achieve the tones I'm looking for in the right quantity.
I usually mix my paint as a session unto itself, with a little break before starting the painting so I can come back and check my work.
Last, but absolutely not least, this range of tones is a STARTER range to help you form a balanced and congruent piece. I am constantly mixing in bits of orange or violet here and there or even blue in the shadows to really give each person their own vivid presence.
Please feel free to let me know how mixing goes for you! Or if you have any more questions about my process drop them in the comments. Make sure you stay tuned next week for my first video tutorial where I put this paint to action!
--
originally posted: November 22, 2016


