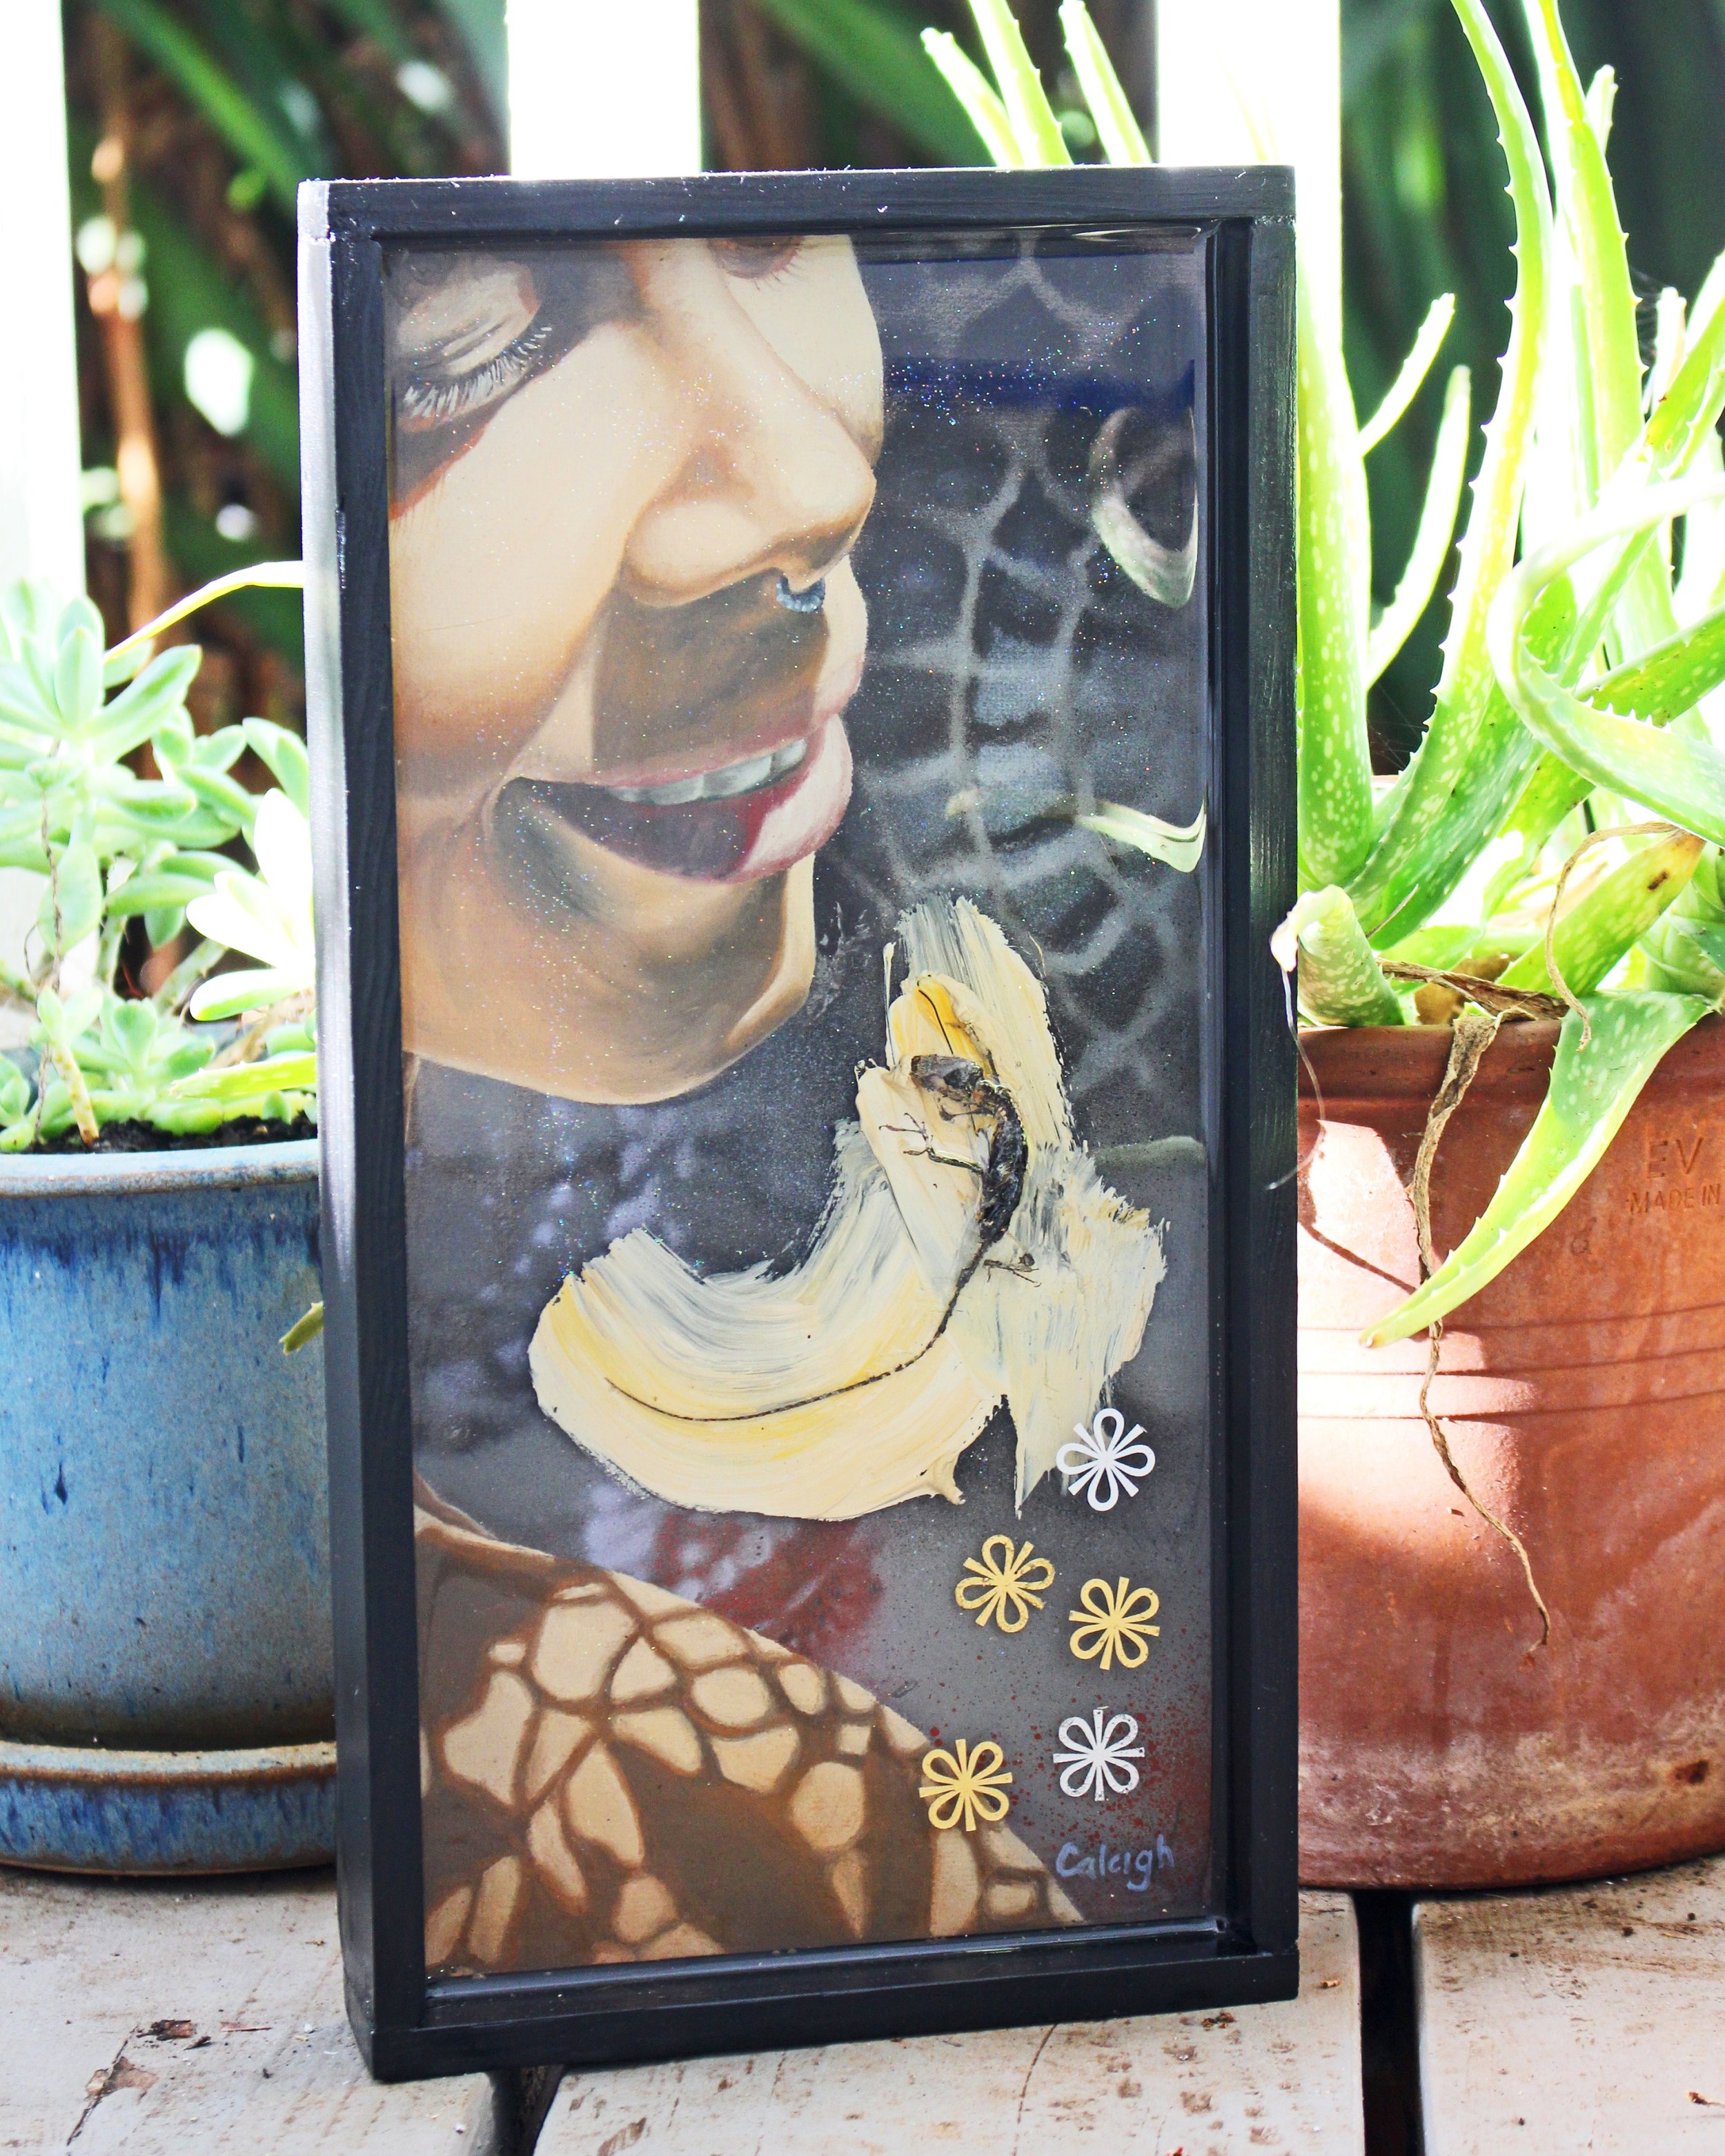
Using acrylic resin layers within your art can be a bit scary and daunting, but it is actually a very simple process. Today I have a step by step tutorial detailing the way I create my 3D paintings, including tips on how to make sure your resin pour is a success.
I've also included a painting I accidentally destroyed using resin which was so sad! But at least I can use it as a teaching tool to show you what NOT to do when layering your own paintings.
There are a number of good brands of resin out there, just make sure you purchase one that is artist grade and will dry crystal clear without turning yellow eventually. This is where I got the kind featured in this video.
As long as you follow the instructions closely you should have no problem creating incredible 3D works of art. Happy Pouring!
You Will Need:
paper towels
plastic mixing cup
stir stick
dust cover
acrylic resin
glue (for adding in objects)
level
heat gun
tweezers
…And a bit of patience!
Before pouring resin on any painting I highly recommend varnishing it. I did three coats with a day to dry in between. Then you also need to give each resin layer 24 hours to cure completely too. It’s not a fast process, but it is very rewarding. I tend to work on 4-5 paintings at once to help make it more worthwhile.
::
originally published January 31, 2019


