Part One consists of binding a booklet that will be ready to be fitted into the cover, which will then be created in Part Two.
[Check out the Inspo Intro I did last week to get the full back story and to see some amazingly creative handmade books by other artists]
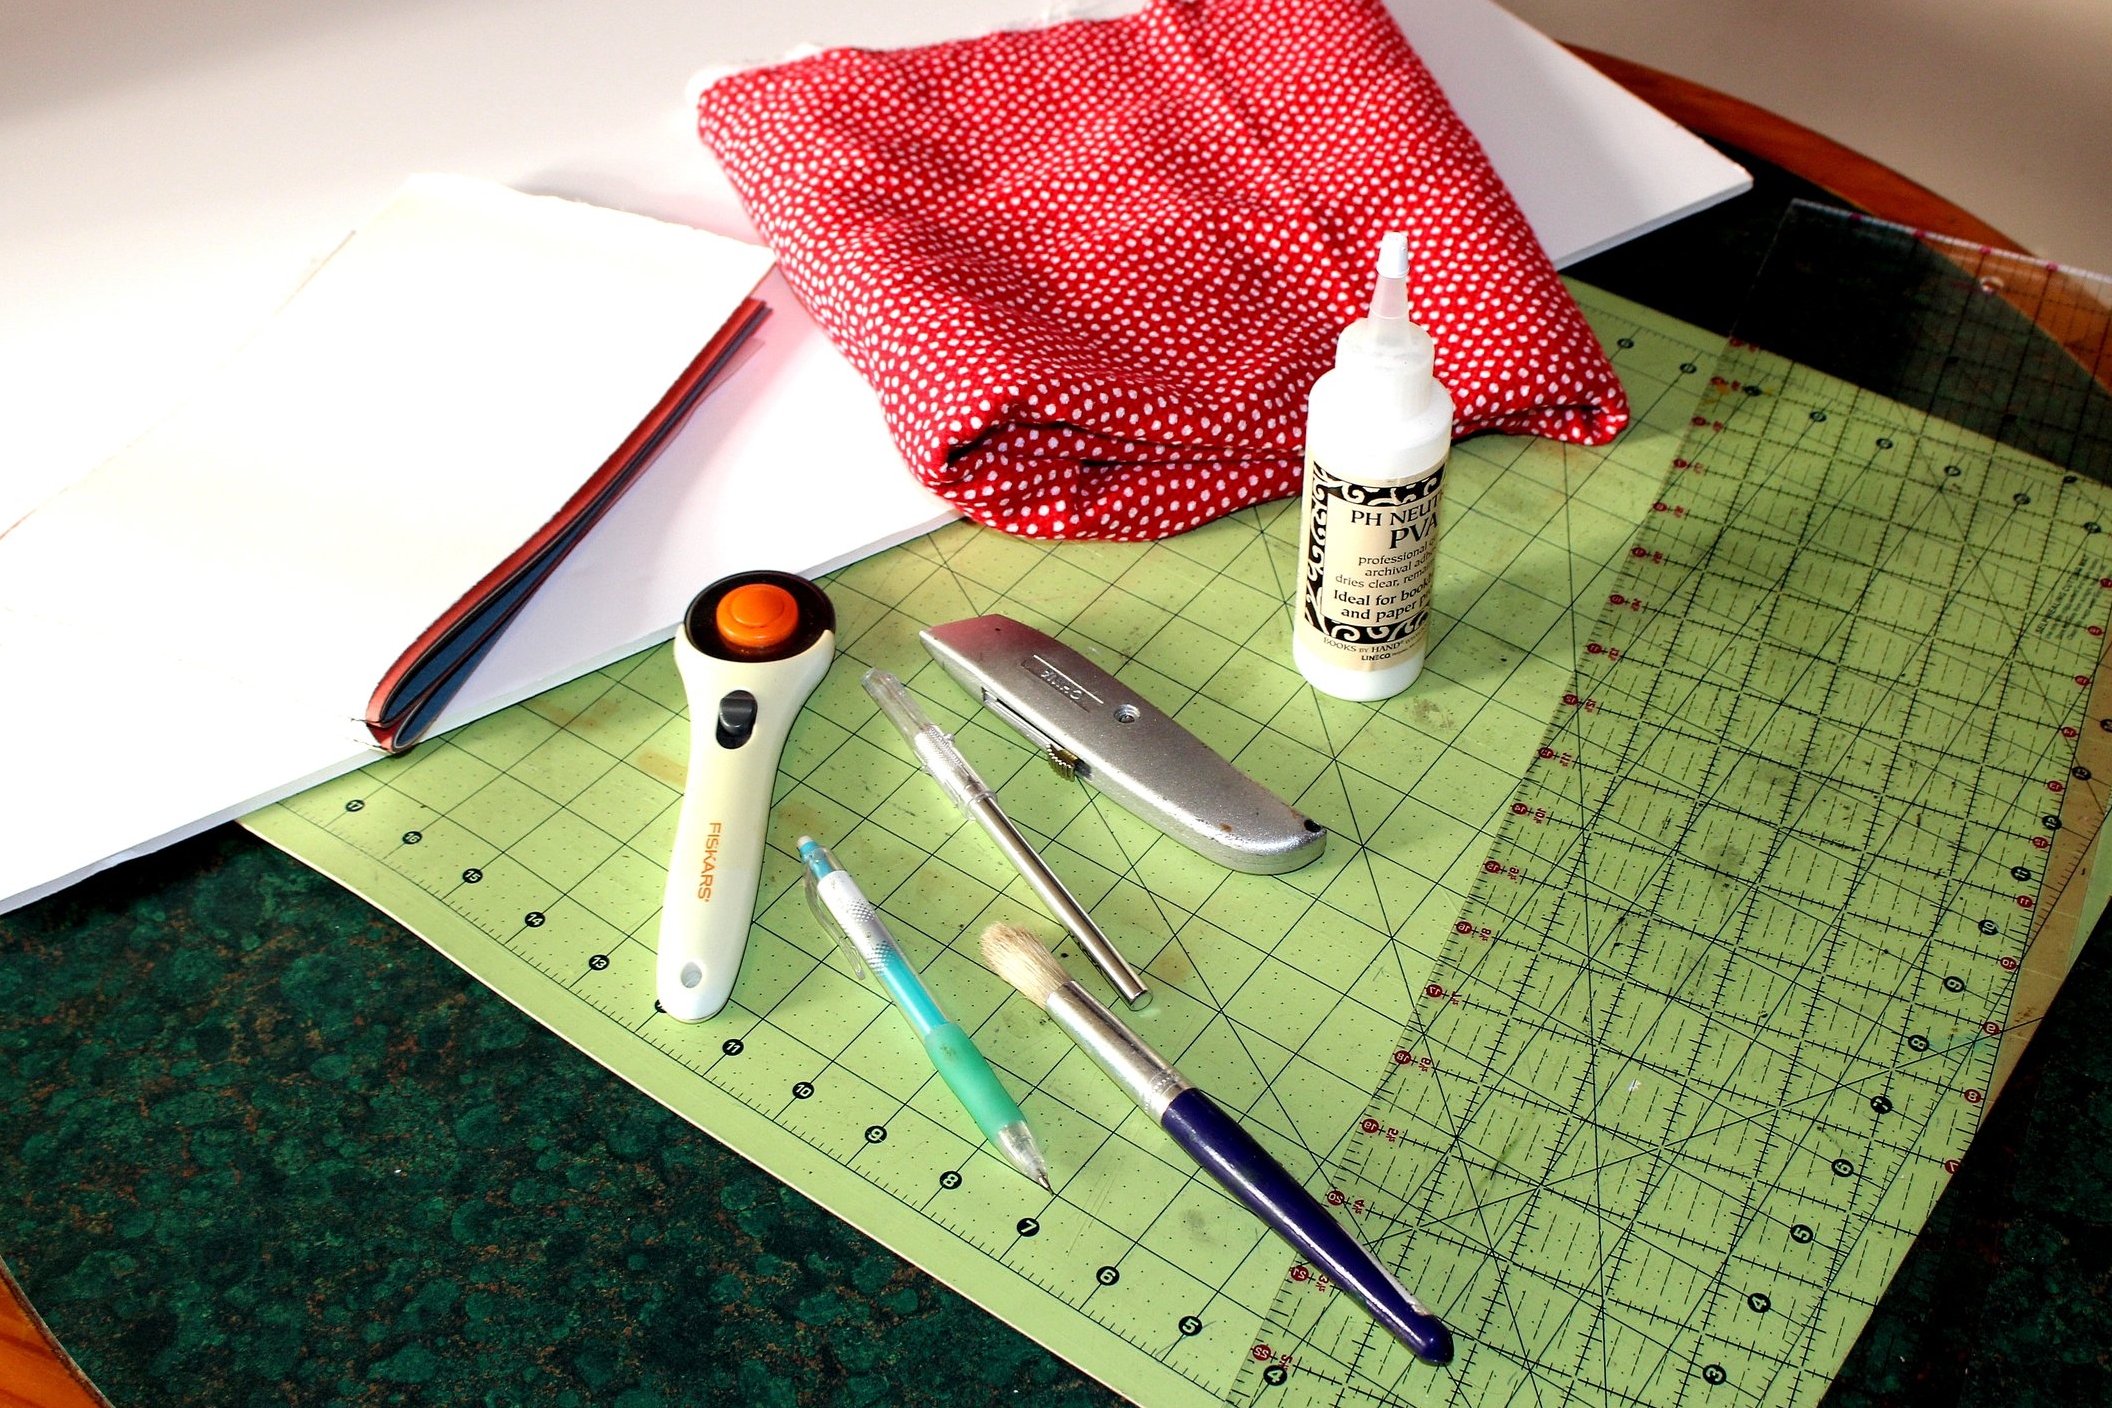
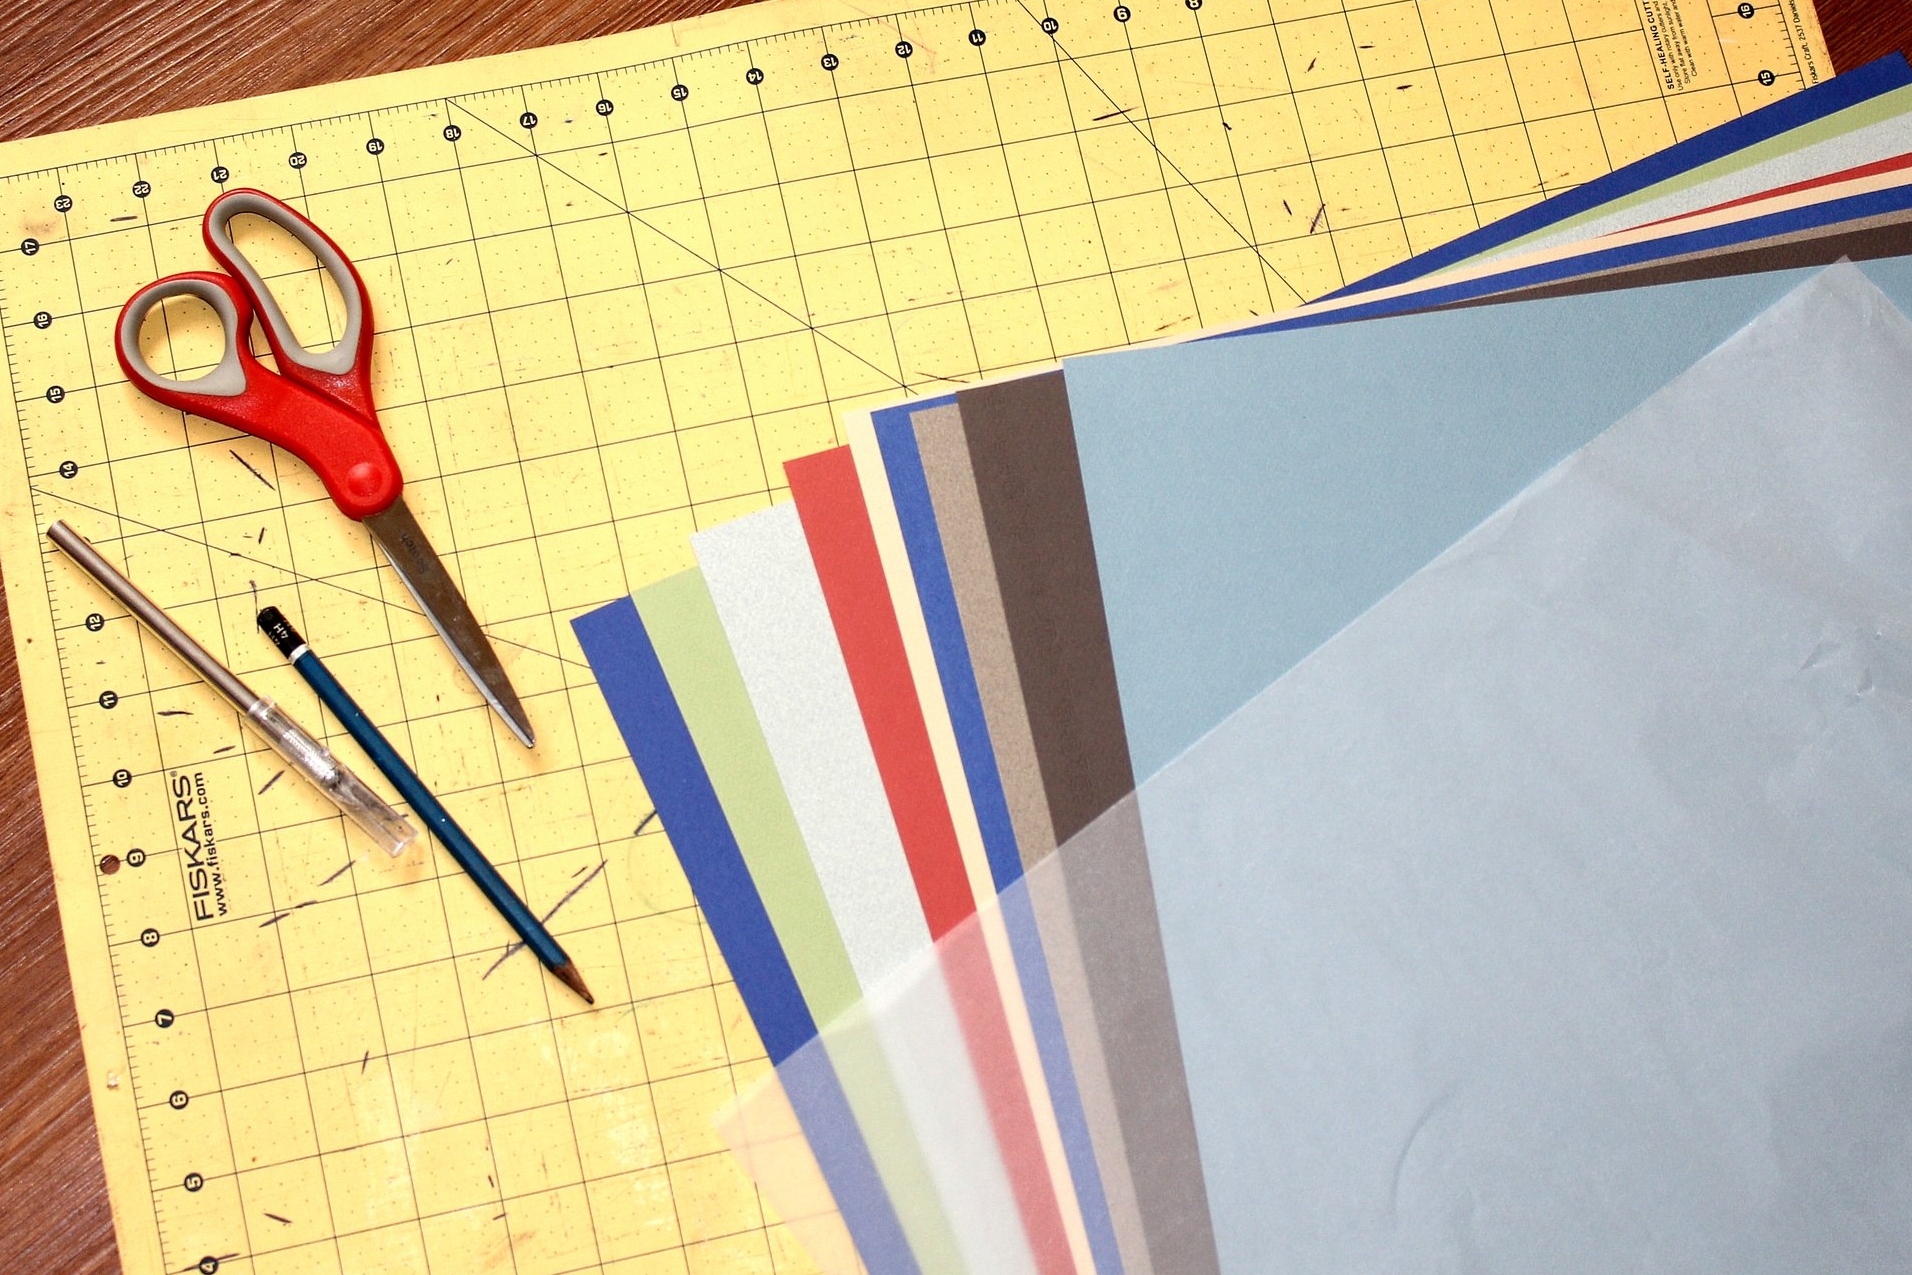
Materials:
- scissors
- cloth
- sharpie
- foam board
- glue (book binding/Mod Podge/craft)
- paint brush (used for glueing)
- Xacto knife/ cutting station
- ruler
- sewing machine OR needle and thread
- large art paper (5-10 sheets)**
- tracing paper (1 large sheet)
- thick rag paper (1 large sheet)
**On choosing paper: I say, go for whatever makes you happy. I am using multiple different colors of rich toned, high toothed charcoal paper since I never draw on white these days. But you should go to your locally owned art store and find whatever tickles your fancy - and of course feel free to mix it up! In order to prevent too much waste, try to get large sheets that are pretty close in size.
Here we go...
1 - Arranging the paper: Firstly, make sure that all of your big papers are the same size, including the tracing paper but NOT the thick rag paper. Once they are uniform in size, make sure that each paper is facing the same direction (some art paper has a 'front' or good side that has more or less tooth, depending on what you like), and the tracing paper is on top of the front side.
2- Cutting the paper: Cut your stack of paper carefully into four equal lengths using the Xacto knife and ruler. (You will most likely need to cut it in groups of three papers at a time in order to get a clean cut all the way down)
3- Cutting the Rag Paper: Once you have your page strips, use one to measure against the rag paper and cut out a strip that is 1/2 inch wider and at least two inches longer (you will trim it later to fit the book cover). The rag paper will be the element that is attached to the booklet and then glued to the book cover and holds the entire sketchbook together.
4- Binding Prep: Fold and crease your booklets in half (excluding the rag paper) but keep each booklet as its own entity. Fold and crease the rag paper on its own as well.
Now you are going to actually bind your booklets together and to the rag paper. I am a seamstress so I use my sewing machine for this, but I have included instructions on how to do it by hand.
5- The Tricky Part: So now you are going to actually sew all of your pages together using the rag paper to hold them together; doing so one booklet at a time. Start out with the 'good' side of your paper facing out with the tracing paper outside of it. Then line the booklet up with the rag paper, the tricky part being that you want to actually line the spine of your booklet to a space about 1/4 inch away from the center, so that as you sew each individual booklet in, they are equal distance from the center.
[Side Note: I feel like I should let you in on a lil secret... I am super NOT a perfectionist. I am all about just holding things together to see how they fit, or using a ruler to rip rather than cut paper... I am the queen of, 'I'll just eyeball it.' I've been sewing my own clothes for years, and I usually just hold stuff up to me and guestimate or upcycle or whatever. I personally love the warm feel of handmade, yet high quality, perfectly imperfect goods... so measure at your own leisure. (Ha! Off the cuff but I think it's my new mantra!)]
5b- Ok so you've just seen how you want to line up your segments for sewing, but if you don't have a machine, a needle and thread will be absolutely fine. Line up your booklet pieces with the rag paper one at a time like explained above, and use this simple binding technique to affix them together.
5b(cont'd)- Thread your needle and push it through the papers on the outside of the crease (the mountain side), then loop it through and push it back through the inner crease (the valley side). Knot the thread to itself and cut it. Repeat 4-6 times depending on binding size.
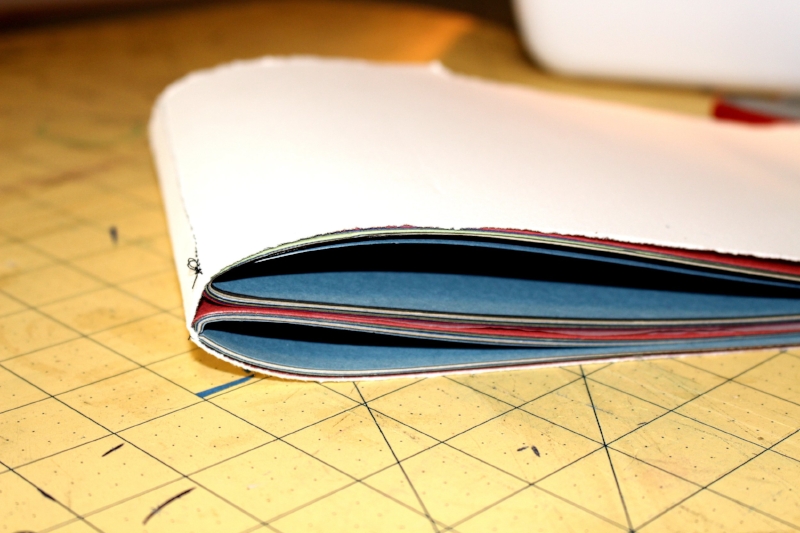
The outside of the bound booklet
The inside of the bound booklet
Ta-Daa! You now have the inner leaflet of your fabulous hand-made-with-love sketchbook!
Don't forget to tune in next week for Part Two, which will be creating and securing the cover. I personally think that today's tutorial is the more challenging one, so if you got through that, the rest will be a breeze! Go ahead and start looking for some unique fabric to adorn the cover, and check out last week's Inspo post to see some funky retro examples.
Do you know any good tips or techniques for bookbinding? Have you ever tried binding various papers together? Feel free to leave me a comment!
Love to DIY? Follow this Pinterest board for more high quality crafty art inspo
--
originally posted: October 25, 2016


